Managing Simulators
Learn how to clone simulators, manage configurations, and work with the Plato Hub ecosystem.Cloning Simulators
Using the CLI
The easiest way to clone a simulator is through the Plato Hub CLI:- Clones the simulator repository from Plato Hub
- Sets up
.plato-hub.jsonconfiguration - Configures git remotes for the simulator
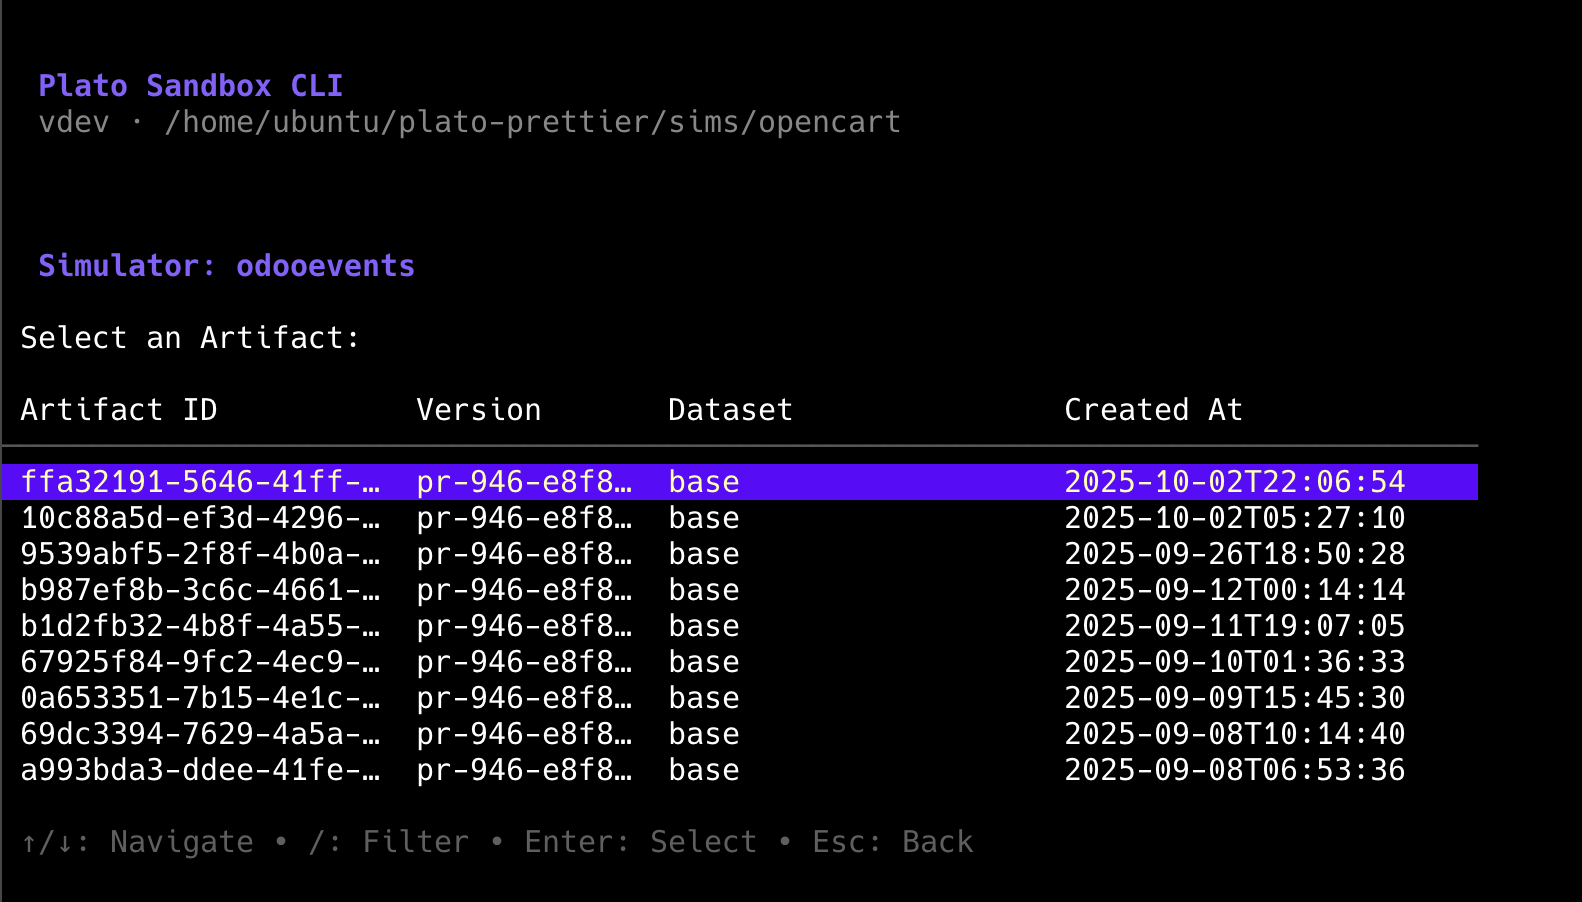
Browsing Available Simulators
Launch the interactive CLI to browse simulators:
- Filter - Search for simulators by name
- Arrow keys - Navigate the list
- Enter - Select a simulator to view artifacts
- View all available snapshots (artifacts)
- See version history and creation dates
- Launch a VM from any snapshot
Simulator Structure
A typical Plato simulator has this structure:Key Files
plato-config.yml
Required - Defines VM resources, services, datasets, and database listeners
docker-compose.yml
Required - Defines your application services (web, database, workers, etc.)
flows.yaml
Optional - Defines automated action flows for the simulator
.plato-hub.json
Auto-generated - Links local directory to Hub repository
Configuration File
Theplato-config.yml file is the heart of your simulator configuration.
Complete Example
plato-config.yml
Configuration Sections
Service
Compute Resources
Metadata
Services
Listeners
Multiple Datasets
Define multiple datasets for different environments:Working with Snapshots
Snapshots (also called artifacts) are saved VM states that can be reused.Creating Snapshots
Create a snapshot through the Hub CLI after starting services and worker:- Launch VM and start services
- Start Plato worker
- Test the simulator
- Select “Snapshot VM” from the actions menu
- Entire VM disk state
- All running services
- Database data
- Application state
Using Snapshots
Launch a VM from an existing snapshot:- Open Hub CLI:
uv run plato hub - Select “Launch Environment”
- Choose “From Existing Simulator”
- Browse simulators and select one
- Choose an artifact/snapshot
- VM launches with saved state
- Resume development from previous state
- Deploy specific versions
- Test different configurations
- Share working environments
Git Integration
Plato Hub includes built-in git integration for simulator repositories.Cloning with Credentials
The Hub CLI handles authentication automatically:Manual Cloning
If you need to clone manually, use the SDK to get credentials:Repository Structure
Hub repositories follow standard git practices:- main branch - Production-ready code
- Feature branches - Development work
- Tags - Version releases
Best Practices
Configuration Management
Use YAML Anchors
Share configuration across datasets with
& and * syntaxEnvironment Variables
Use
${VAR} syntax for sensitive data like passwordsLogin Credentials
Always define username/password in variables section
Health Checks
Configure proper health checks in docker-compose.yml
Development Workflow
- Clone simulator from Hub
- Test locally with Hub CLI
- Make changes and commit to feature branch
- Create snapshot when working
- Share snapshot ID with team
- Merge to main when ready
Resource Allocation
Choose resources based on your simulator needs:| Simulator Type | vCPUs | Memory (MB) | Disk (MB) |
|---|---|---|---|
| Simple web app | 1 | 1024-2048 | 10240 |
| Database app | 1-2 | 2048-4096 | 20480 |
| Complex system | 2-4 | 4096-8192 | 51200 |
Troubleshooting
Clone fails with authentication error
Clone fails with authentication error
- Check your API key in
.envfile - Verify API key at plato.so/settings
- Ensure
PLATO_BASE_URL=https://plato.so/apiis set
Config file not recognized
Config file not recognized
- File must be named exactly
plato-config.yml - Check YAML syntax with a validator
- Ensure proper indentation (spaces, not tabs)
- Verify
servicefield is at root level
502 error when accessing simulator from browser
502 error when accessing simulator from browser
- Verify that the
app_portin plato-config.yml matches the frontend app port from your docker-compose.yml - Ensure the app is running inside the VM
- SSH into the VM and test with curl:
curl localhost:<app_port> - Check Docker container logs:
docker compose logs -f
Can't find created snapshot
Can't find created snapshot
- Snapshots may take a few minutes to process
- Refresh the artifact list
- Check the snapshot completed successfully
- Verify you’re looking at the correct simulator
Next Steps
- Plato Hub CLI - Learn the full Hub CLI workflow
- Getting Started - Basic concepts and setup
- Quickstart - Quick start guide with examples